Screen Recording Tips & Tricks: The Ultimate Guide for 2025
Master screen recording with our comprehensive guide. Learn professional techniques, best practices, and tools to create stunning tutorial videos and demos.
Screen Recording Tips & Tricks: The Ultimate Guide for 2025
Creating professional screen recordings is both an art and a science. Whether you're making tutorials, product demos, or educational content, the quality of your screen recordings can make or break viewer engagement.
After producing hundreds of hours of screen recording content and helping thousands of creators improve their videos, I've compiled this comprehensive guide to help you master screen recording.
Essential Screen Recording Setup
Hardware Requirements
Minimum Setup:
- Computer with at least 8GB RAM
- Dual monitors (highly recommended)
- Quality microphone (USB or XLR)
- Stable internet connection (for cloud-based tools)
Recommended Professional Setup:
- 16GB+ RAM for smooth recording
- Dual 1440p or 4K monitors
- Professional microphone with pop filter
- Graphics card with hardware encoding
- SSD for faster file processing
Software Selection
The right software depends on your needs:
For Beginners:
- OBS Studio (Free) - Open source, powerful, cross-platform
- Loom (Free tier available) - Quick recordings with instant sharing
- QuickTime (Mac) - Built-in, simple, reliable
For Professionals:
- Camtasia - Full editing suite with recording
- ScreenFlow (Mac) - Professional editing and recording
- Snagit - Screenshots and simple recordings
For Developers:
- Kap (Mac) - Open source, GIF support
- ShareX (Windows) - Feature-rich, customizable
- SimpleScreenRecorder (Linux) - Lightweight, efficient
Pre-Recording Checklist
Environment Preparation
✅ Clean Your Desktop
- Remove personal files and folders
- Hide sensitive information
- Use a clean wallpaper
- Close unnecessary applications
✅ Browser Setup
- Clear browsing history
- Remove personal bookmarks from toolbar
- Use incognito/private mode when appropriate
- Install profile switcher for demo accounts
✅ Audio Check
- Test microphone levels
- Eliminate background noise
- Use headphones to prevent echo
- Check for AC/fan noise
✅ Display Settings
- Set resolution to 1920x1080 (most compatible)
- Increase font sizes for readability
- Adjust zoom level to 125-150%
- Test color contrast
Professional Recording Techniques
1. Screen Resolution Best Practices
Optimal Resolutions:
- 1920x1080 (1080p) - Standard for most content
- 2560x1440 (1440p) - Premium quality
- 3840x2160 (4K) - Future-proof (large file sizes)
Pro Tip: Record at 1080p even if your monitor is higher resolution. Use display scaling to make text readable.
2. Frame Rate Selection
- 30 FPS - Standard for tutorials (smaller files)
- 60 FPS - Smooth for gaming/animation demos
- 24 FPS - Cinematic feel (rarely needed for tutorials)
Recommendation: Stick with 30 FPS for most tutorial content. It's smooth enough and keeps file sizes manageable.
3. Audio Quality Matters
Recording Tips:
- Record in a quiet room
- Speak 6-8 inches from microphone
- Use consistent volume (around -12dB to -6dB)
- Record audio separately for better editing control
Common Mistakes to Avoid:
- ❌ Recording with laptop built-in mic
- ❌ Not monitoring audio levels
- ❌ Background noise (AC, fans, traffic)
- ❌ Inconsistent distance from microphone
4. Cursor and Highlighting
Make your cursor visible and attention-grabbing:
- Increase cursor size (150-200%)
- Enable cursor highlights (yellow circle works well)
- Use cursor effects for clicks (subtle animations)
- Slow down cursor movements (deliberate, not rushed)
Tools for Cursor Enhancement:
- KeyStrokes - Automated typing for forms
- Mouseposé (Mac) - Spotlight cursor
- PointerFocus (Windows) - Cursor highlighting
Advanced Recording Strategies
Multi-Camera Setup
For professional productions:
- Screen Recording - Main content
- Webcam - Personal connection (picture-in-picture)
- Close-up Camera - For physical product demos
Layout Tips:
- Place webcam in bottom-right corner
- Keep face cam at 15-20% of screen
- Ensure good lighting on face
- Match webcam quality to screen quality
Script vs. Improvisation
Scripted Approach:
- ✅ Consistent messaging
- ✅ Better pacing
- ✅ Fewer mistakes
- ❌ Can sound robotic
- ❌ Time-consuming to prepare
Improvised Approach:
- ✅ Natural, authentic feel
- ✅ Faster production
- ❌ More editing required
- ❌ Potential rambling
Best Practice: Use a bullet-point outline. Know your key points but speak naturally around them.
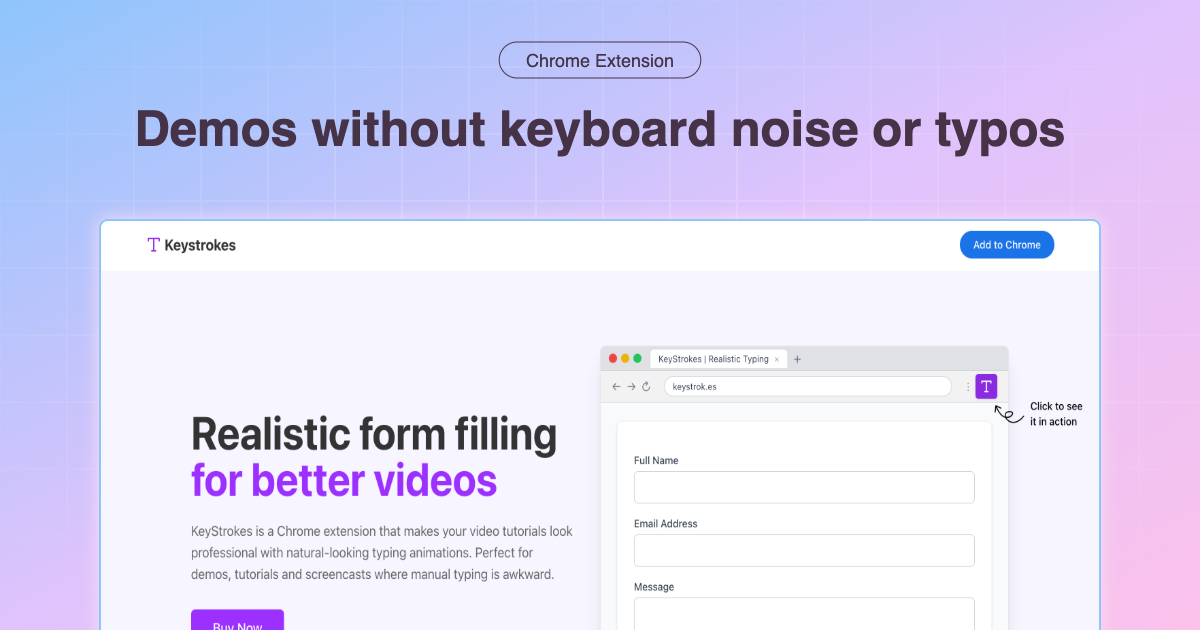
Form Filling & Typing
This is where most tutorials fall apart. Manual typing leads to:
- Typos and mistakes
- Inconsistent pacing
- Lost focus from viewers
- Need for retakes
Solution: Automate It
Use tools like KeyStrokes to:
- Pre-define all form text
- Trigger realistic typing with one click
- Maintain perfect consistency
- Focus on narration, not typing
Learn more about automated form filling
Recording Workflow Optimization
Before Recording
- Rehearse your flow (2-3 dry runs)
- Prepare all resources (links, files, data)
- Set up automation (forms, typing sequences)
- Check all settings (resolution, FPS, audio)
- Start recording (count 3-2-1 for clean edit)
During Recording
Voice Tips:
- Speak clearly and slightly slower than normal
- Pause between major steps
- Use consistent terminology
- Smile (it comes through in your voice!)
Mouse Movement:
- Move deliberately, not frantically
- Pause at important UI elements
- Use highlights to draw attention
- Avoid rapid back-and-forth movements
Error Recovery:
- Pause for 5 seconds if you make a mistake
- Start the sentence/section over
- Continue without stress
- Edit out pauses later
After Recording
- Review immediately (catch issues early)
- Take notes (timestamps for edits)
- Backup raw files (before editing)
- Export in multiple formats (MP4, WebM)
Common Screen Recording Problems & Solutions
Problem: Large File Sizes
Solutions:
- Use H.264 codec (best compression)
- Record at 30 FPS instead of 60
- Lower bitrate (5-10 Mbps for 1080p)
- Use variable bitrate (VBR)
Problem: Laggy Recording
Solutions:
- Close background applications
- Record to SSD, not network drive
- Use hardware encoding (NVENC, QuickSync)
- Lower recording resolution temporarily
Problem: Poor Audio Quality
Solutions:
- Invest in a decent USB microphone
- Use a pop filter
- Record in a closet (natural sound dampening)
- Apply noise reduction in post-production
Problem: Choppy Cursor Movement
Solutions:
- Use hardware cursor capture
- Increase recording frame rate
- Disable cursor animations
- Use external recording device
Post-Production Tips
Essential Editing
Must-Do Edits:
- Trim dead air at start/end
- Remove long pauses and mistakes
- Add intro/outro sequences
- Balance audio levels
Nice-to-Have Edits:
- Zoom in on important details
- Add callouts and annotations
- Include background music (subtle)
- Color correction/grading
Export Settings
YouTube/Vimeo:
- Format: MP4 (H.264)
- Resolution: 1920x1080
- Frame Rate: 30 FPS
- Bitrate: 8-12 Mbps
Self-Hosted:
- Format: WebM (VP9) for web
- MP4 (H.264) as fallback
- Generate multiple qualities (1080p, 720p, 480p)
Platform-Specific Tips
YouTube Tutorials
- Front-load important content (first 30 seconds)
- Use chapters/timestamps
- Add cards to related videos
- Include transcript for accessibility
Product Demos
- Show value immediately
- Focus on benefits, not just features
- Keep it under 5 minutes
- Include clear call-to-action
Educational Content
- Break into digestible segments
- Repeat key concepts
- Provide downloadable resources
- Include practice exercises
Tools & Resources
Recommended Software Stack
Recording:
- Primary: OBS Studio or Camtasia
- Backup: Loom or QuickTime
- Automation: KeyStrokes for form filling
Editing:
- Professional: Adobe Premiere Pro or Final Cut Pro
- Intermediate: Camtasia or ScreenFlow
- Beginner: DaVinci Resolve (free) or iMovie
Audio:
- Recording: Audacity (free) or Adobe Audition
- Enhancement: iZotope RX or Krisp
- Music: Epidemic Sound or Artlist
Free Resources
- OBS Project - Free recording software
- DaVinci Resolve - Free editing
- Audacity - Free audio editing
Conclusion
Professional screen recording is a skill that improves with practice. Start with these fundamentals:
- Prepare thoroughly before hitting record
- Automate repetitive tasks (like form filling with KeyStrokes)
- Focus on audio quality (often more important than video)
- Edit ruthlessly (remove anything that doesn't add value)
- Optimize for your platform (YouTube, website, etc.)
Remember: Your audience's time is valuable. Make every second count.
Take Your Screen Recordings to the Next Level
Ready to eliminate typing errors and create flawless demos? Try KeyStrokes to automate form filling and typing in your screen recordings.
Related Guides:
Have questions about screen recording? Found this guide helpful? Let us know at hello@keystrok.es